The easiest way to make yogurt at home
Making yogurt at home is a fun and rewarding process that allows you to control the ingredients and enjoy fresh, delicious yogurt anytime. You don’t need fancy equipment or extensive culinary skills. With a few simple steps, you can create creamy, nutritious yogurt right in your kitchen.
Ingredients Needed
To make basic homemade yogurt, you will need:
- Milk: 1 quart (whole milk is preferred for creaminess, but you can use 2% or skim milk)
- Starter yogurt: 2 tablespoons (plain yogurt with live active cultures)
Optional add-ins for flavor variations:
- Vanilla extract: 1 teaspoon
- Honey or sugar: 2 tablespoons (for sweetening)
- Fruit puree: 1/2 cup
Equipment Required
The equipment needed for this recipe includes:
- Medium saucepan
- Whisk
- Thermometer (optional but recommended)
- Mixing bowl
- Spoon
- Jar or container with a lid
- Cooler, thermos, or warm spot for incubation
Preparation Steps
Before you begin, gather all your ingredients and equipment. Ensure your saucepan and other tools are clean to prevent contamination.
Heating the Milk
- Pour the Milk: Pour the milk into a medium saucepan.
- Heat the Milk: Place the saucepan over medium heat and warm the milk until it reaches 180°F (82°C). Stir occasionally to prevent scorching.
Cooling the Milk
- Cool the Milk: Remove the saucepan from the heat and let the milk cool to 110°F (43°C). You can speed up the cooling process by placing the saucepan in a cold water bath.
Adding the Starter Culture
- Prepare the Starter: In a small bowl, mix the starter yogurt with a few tablespoons of the cooled milk until smooth.
- Combine with Milk: Stir the starter mixture back into the rest of the cooled milk, ensuring it is well incorporated.
Incubating the Yogurt
- Transfer to Container: Pour the milk mixture into a clean jar or container with a lid.
- Incubate: Place the jar in a cooler or thermos, or wrap it in a towel and place it in a warm spot. Maintain a temperature of around 110°F (43°C) for 4-12 hours. The longer the incubation, the thicker and tangier the yogurt will be.
Checking for Doneness
- Check the Yogurt: After 4 hours, check the yogurt for thickness and taste. If it hasn’t set or isn’t tangy enough, let it incubate longer.
- Final Check: Once the yogurt has reached your desired consistency, it’s ready.
Flavoring and Storing
- Add Flavors: If desired, stir in vanilla extract, honey, or fruit puree.
- Store: Transfer the yogurt to the refrigerator and let it chill for at least 2 hours before serving. Store in an airtight container for up to 2 weeks.
Serving Suggestions
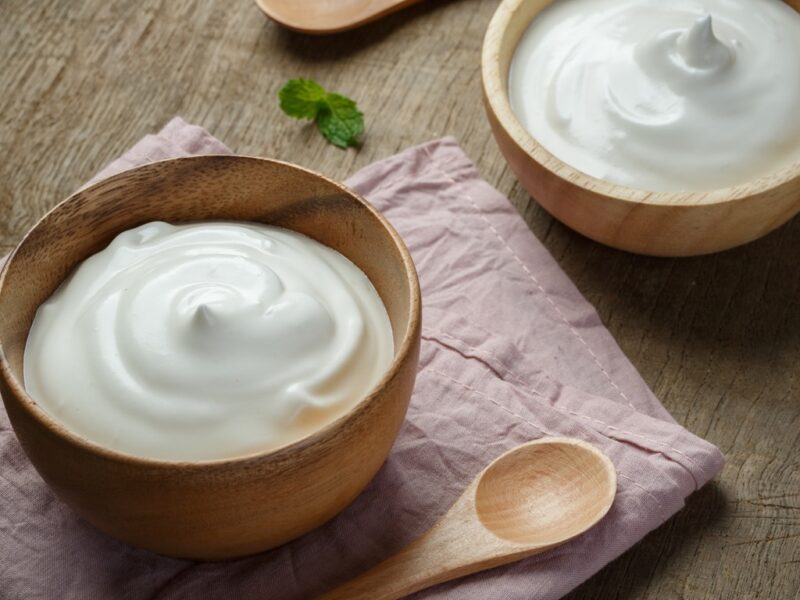
- Serve Plain: Enjoy your homemade yogurt plain or with a drizzle of honey.
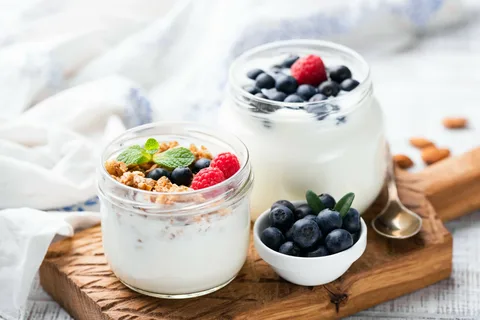
- Pairings: Pair with granola, fresh fruit, or nuts for a nutritious breakfast or snack.
Common Mistakes to Avoid
- Overheating the Milk: Heating above 180°F can alter the milk proteins, affecting the final texture.
- Improper Cooling: Adding the starter to milk that is too hot can kill the beneficial bacteria.
- Contamination: Ensure all utensils and containers are clean to avoid unwanted bacteria growth.
Health Considerations
- Healthier Alternatives: Use organic milk or non-dairy alternatives like almond or coconut milk.
- Portion Control: Enjoy yogurt in moderation to balance its benefits with your overall diet.

The easiest way to make yogurt at home
Making yogurt at home is simple and satisfying. With basic ingredients and equipment, you can enjoy fresh, homemade yogurt that’s tailored to your taste and dietary preferences. Give it a try and discover the joy of homemade yogurt!


